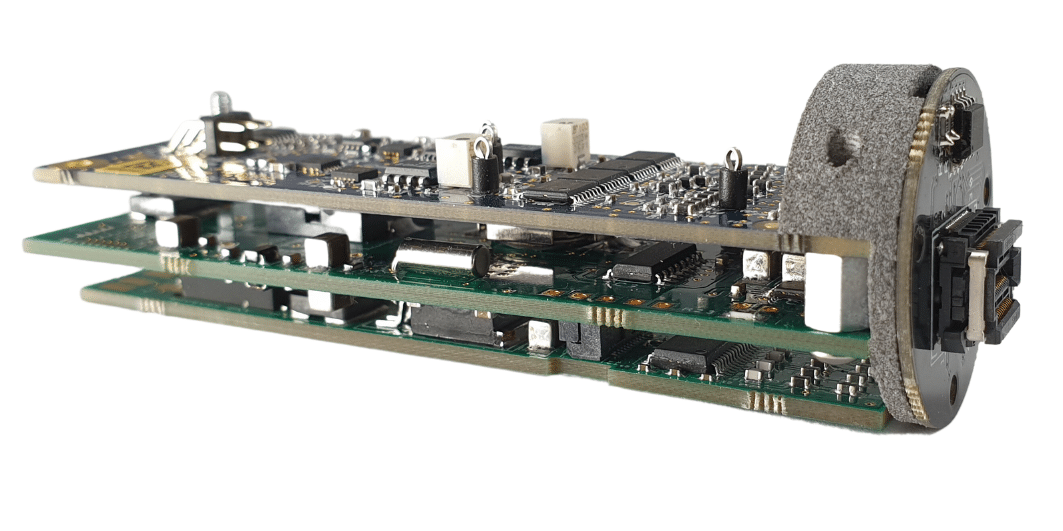
iKit Installation
Connecting
The cable should be soldered as per the following pin-out:
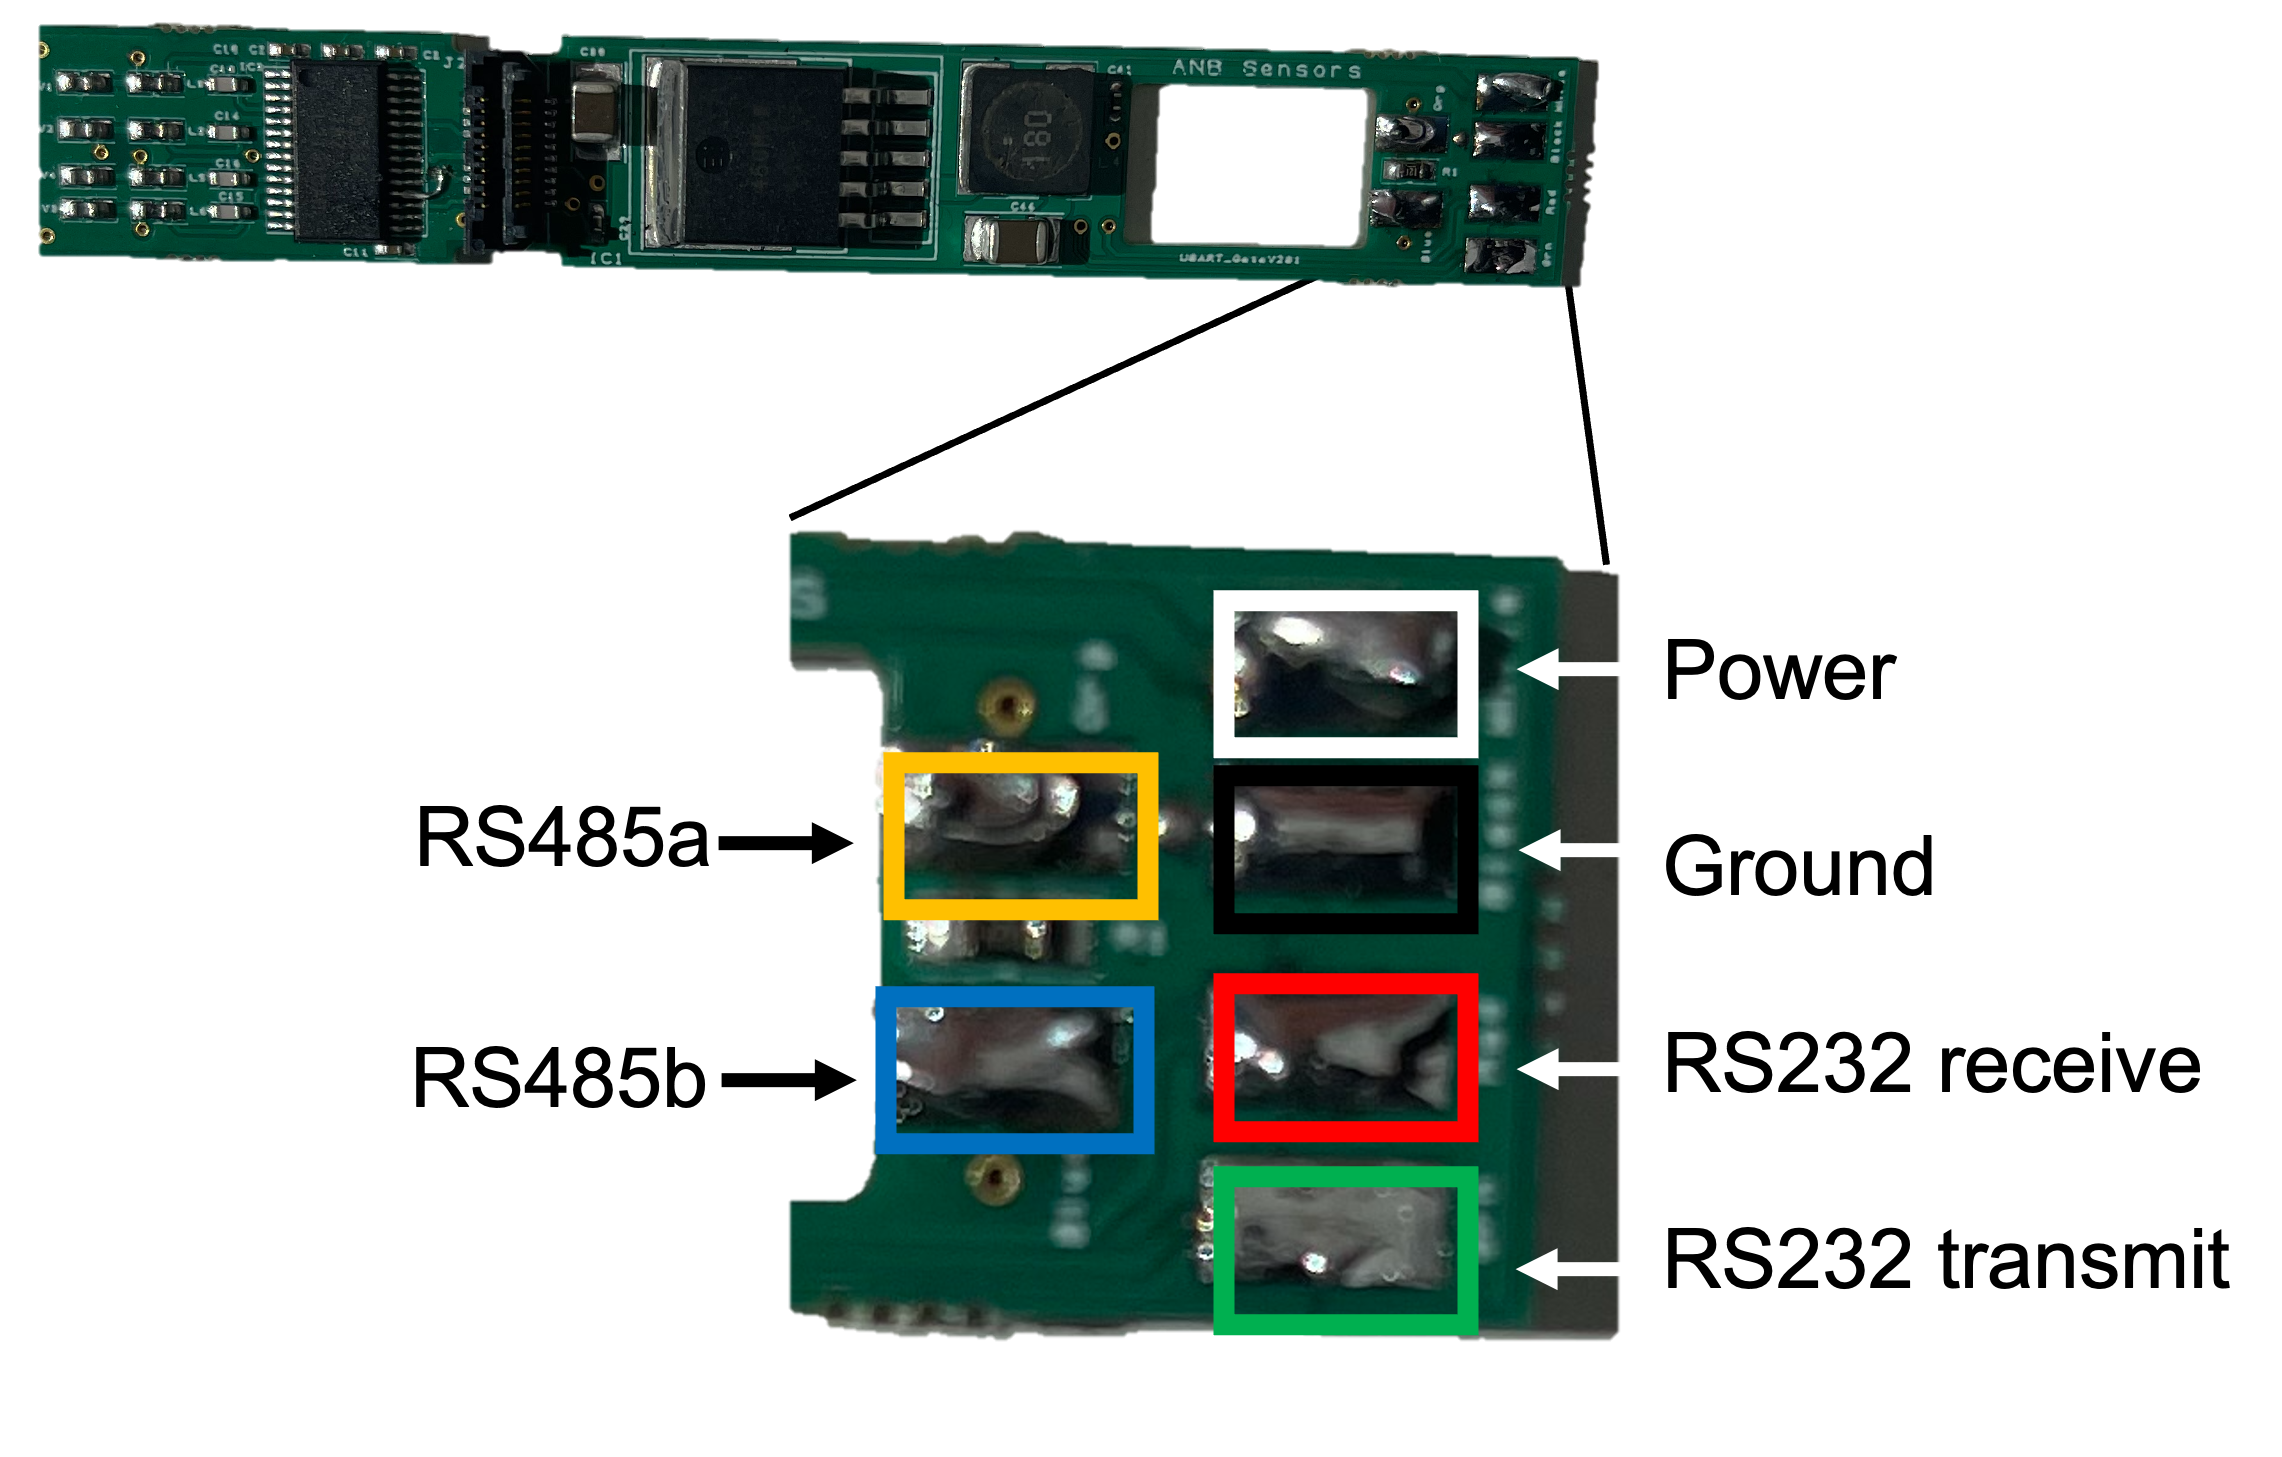
Because of the potential for different vendors to use different signal definitions, if you connect our sensors' A/B wiring to your communication device and communication does not work, try reversing the signals.
Communicating with Terminal
We recommend lightly abrading the transducer prior to the first deployment
Once set-up is complete, download the latest anb_utils and turn on the sensor. The sensor will beep once and the following will be displayed:
2026-03-20 17:02:16 Starting anb_utils Command Line Utility V2.6
Copyright ANB Sensors Ltd. 2025

Select a serial port to connect to the Sensor:

1 COM3
2 COM4
3 COM5
4 COM6

Enter Port [1-4]:
Connecting to Serial Port: COM5 Baud Rate 57600

Sensor Type:                        AQ2_5m
Serial Number:                      300239
Current Interface Firmware Version: IB_20.0    Latest Firmware installed!
Current Driver Firmware Version:    STM_20.0   Latest Firmware installed!
PCB Version:                        STM / IB

Main Menu - What would you like to do?

1 Measurement Settings
2 Install new Firmware
3 Command Line Prompt
4 Download CSV Data from Sensor
5 Backup CSV Data to ANB Cloud
6 Calibrate Temperature Sensor

Enter your choice:
If you are using a parsing script on a connected microprocessor to access the menu functions and change the parameters in the sensor you will need to write a script that issues commands mimicking accessing the Primary Menu
Temperature Calibration
To calibrate, first run the sensor in three different temperatures, logging the temperature seperatelyEnsure that the temperature has stabilised before moving to the next temperature
To calibrate, run your sensor in at least three different temperatures, logging each separately.
You will need to input temperature data for the ANB Sensor, and then the external temperature probe.

Enter ANB Sensor Temperature data separated by commas e.g. 6.2, 14.8, 19.5, 28

ANB Data:
Enter External Probe Temperature data separated by commas e.g. 6.4, 15.1, 20.1, 30

External Temp Probe Data:
Polynomial Coefficients: a: 0.008258, b: 0.513502, c: 3.624318
Hex Values: 3c075003 3f0374de 4067f4d7

Setting Calibration values. Please Wait.
Calibration values updated successfully!
Communicating with Modbus
Modbus mode instructions can be found here.
Dimensions